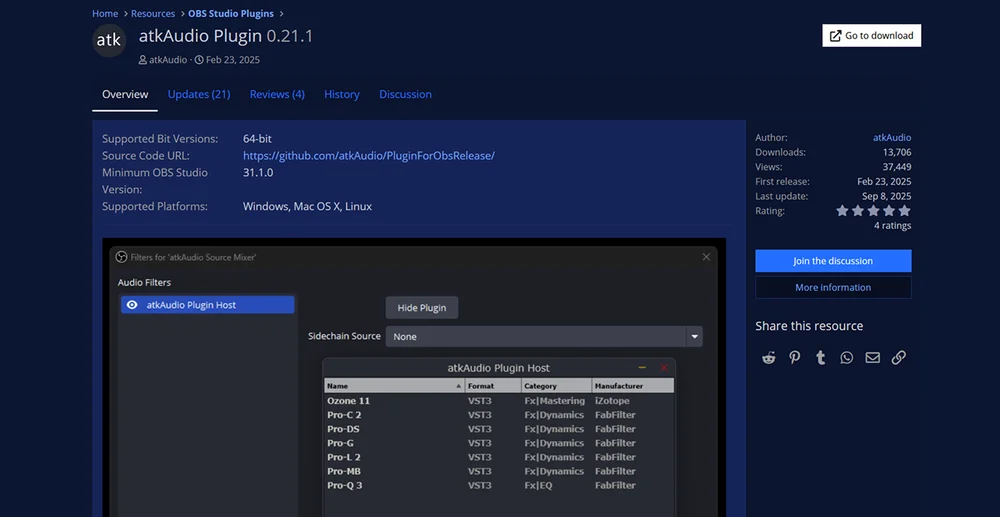
OBS Studio supports audio filters, but only for older VST2 plugins. If you want to add VST3 effects such as Elgato EQ, compression, or noise reduction, you’ll need an additional plugin. One option is atkAudio.
atkAudio is free, works on Windows, macOS, and Linux, and adds VST3 support directly to OBS Studio. This guide walks through how to install it and start using VST3 plugins.

Requirements
- OBS Studio 31.1.0 or later (64-bit)
- atkAudio
- Windows, macOS, or Linux
- At least one VST3 plugin you want to use
Download the latest version of OBS Studio.
Install atkAudio
1) Download atkAudio.
2) Run the installer for your system.
- For portable setups, copy the plugin file (.dll, .dylib, or .so) into your OBS plugins folder.
3) If OBS Studio is open, restart it.
Load a VST3 plugin
1) In OBS, right-click your audio source (for example, your microphone). Select Filters.

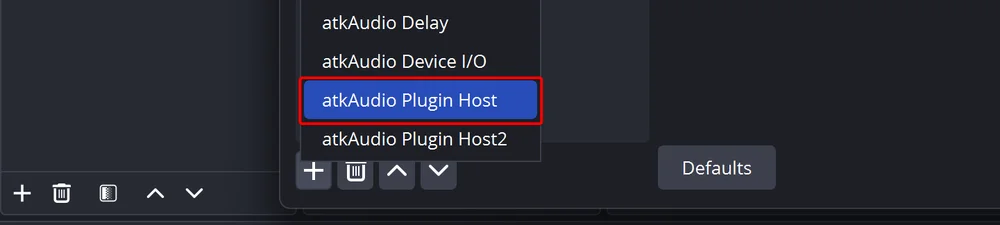
2) Select the + button and choose atkAudio Plugin Host.
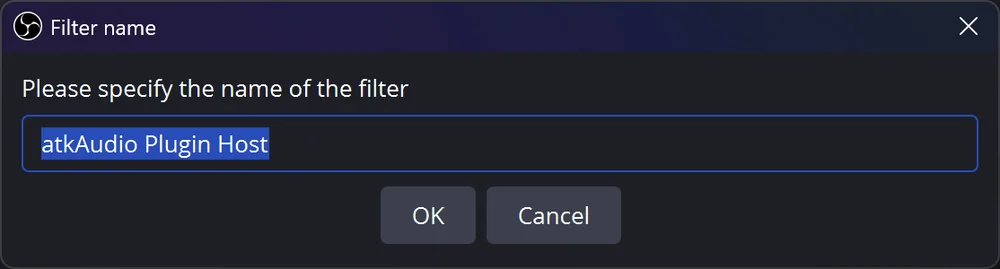
3) Keep the default name or enter your own.
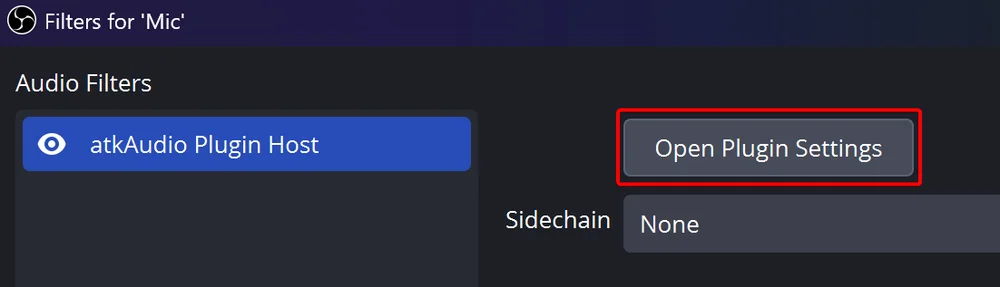
4) Inside Audio Filters, select Open Plugin Settings.
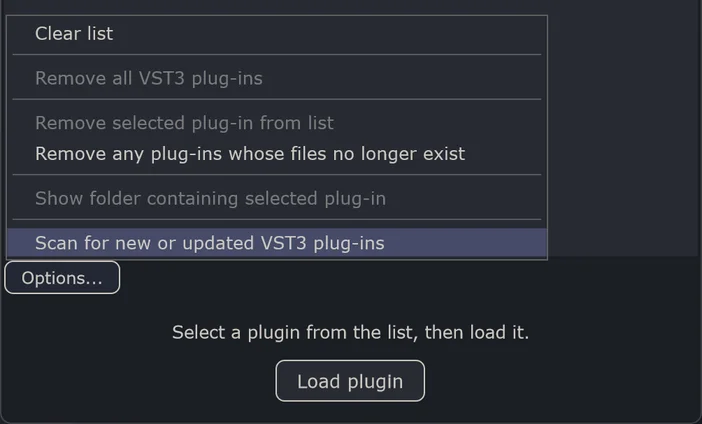
5) On first use, click Options → Scan for new or updated VST3 plugins.
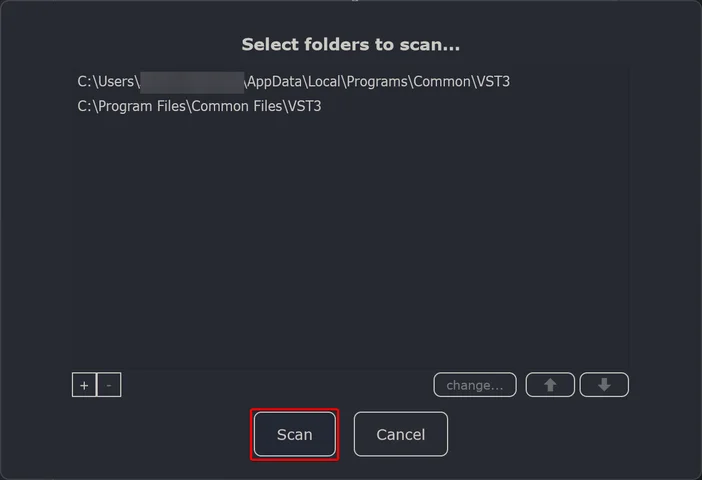
6) A window will appear with the default VST3 folders. If your plugins are stored elsewhere, you can add your own directories. When ready, click Scan.
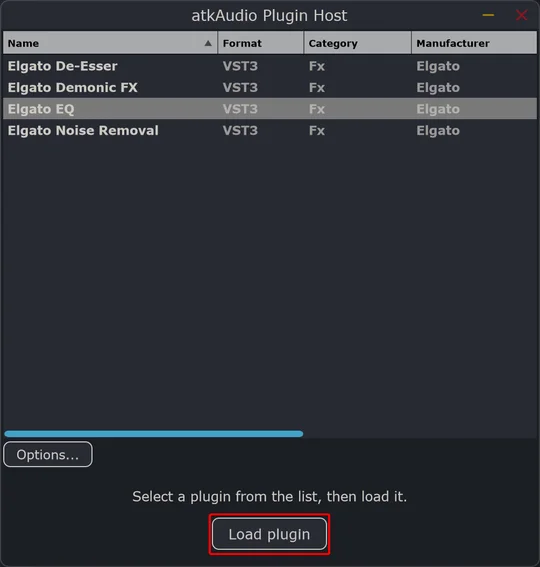
7) Pick the VST3 plugin you want from the list. Select Load Plugin near the bottom.
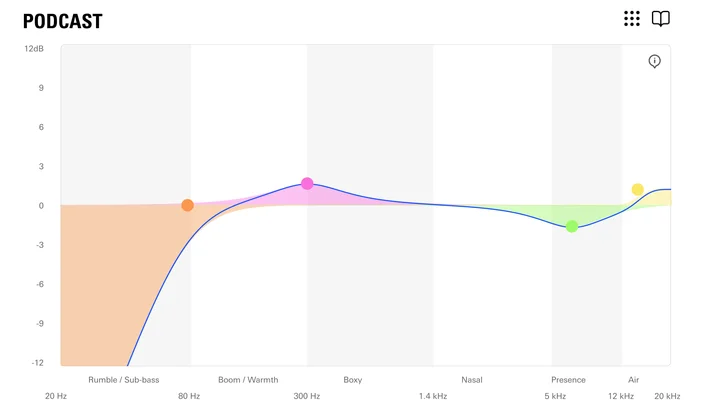
8) Adjust the VST settings to your liking. Once you’re done, simply close it to apply it to your source.
Looking for more VSTs?
Check out Elgato Marketplace to explore audio effects such as Noise Removal, Equalizer, or presets.