This guide will explain the process for capturing Nintendo Switch 2 on your macOS computer.
For a video guide of this article: https://www.youtube.com/watch?v=gnvPctcVpAE
Besides a Switch 2 and Elgato Capture card, you'll need a few more things such as
- Nintendo Switch 2 Dock
- Nintendo Switch 2 Power Supply. It's important to use the official power supply that comes with your console.
- 2x HDMI cables. Your Switch 2 includes one in the box and many capture card models include one as well
- Mac (or MacBook) with an M1 or better Apple Silicon Processor
⚠️ Note: We highly recommend using Mac system that uses the Apple Silicon processors. While you can use a Mac or MacBook with an Intel processor, these do not perform nearly as well.
First step is connecting everything together.
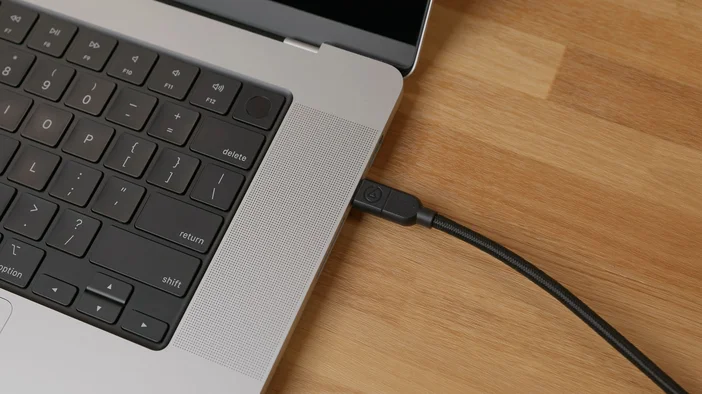
1. First, ensure your USB capture card is powered on by being connected to a USB 3.0 or faster port. This could also be a Thunderbolt 3 or 4 port on your Mac.
2. Next, connect an HDMI cable from the HDMI OUT port of your Elgato Capture Card to the HDMI port on your TV you normally would play on.
3. Connect the official Nintendo Switch 2 power supply to your Switch 2 Dock
4. Connect a second HDMI cable from your Switch 2 Dock to the HDMI IN port on your Elgato Capture Card. They'll be clearly labeled.
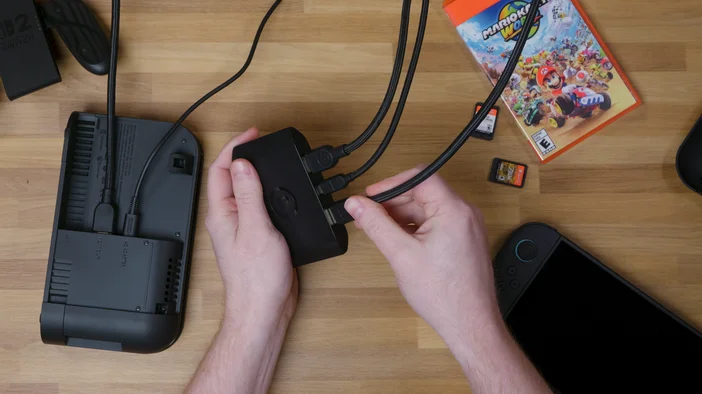
5. Finally, place your Switch 2 into its dock and power it on.
Second step is configuring your software
To begin recording Switch 2 gameplay right away, download and install Elgato Studio from https://www.elgato.com/s/downloads
With everything connected already and your Switch 2 powered on, open Elgato Studio and you'll see the preview from the game right away. Simply hit the record button at the bottom and you're capturing. Elgato Studio supports incoming signals up to 4K at 60fps with HDR and can record up to 4K at 60fps in SDR.
Set your recording quality and recording location by going into Preferences using the gear icon on the top right, then go into the Recording tab.
To begin streaming, you can use apps such as OBS Studio, Meld Studio, and more. Below are steps for configuring OBS Studio on macOS.
- In OBS Studio, under your sources list. Click on the + button. Choose Video Capture Device and type in a custom name.
- Choose your Elgato Capture Card from the list, and click on OK.
- Again, under sources. Add another source by using the + button, and choose Audio Input Capture. Choose your Elgato Capture Card again here and click on OK. Now you have video and audio from your capture card.

4. You'll now see your Switch 2 coming through on the preview. You may need to resize it. Quickly press CMD + F to resize to your preview.
5. Now to set your recording settings. Go into OBS Studio Settings, then under the Video tab set both Base (Canvas) Resolution and Output (Scaled) Resolution to 3840x2160. This ensures recordings from OBS Studio are full 4K. If you are only streaming, you can set Output (Scaled) Resolution down to 1920x1080. For capture card models like Game Capture Neo, both your Canvas and Scaled resolutions can be set to 1080p.
6. Set your FPS to 60.
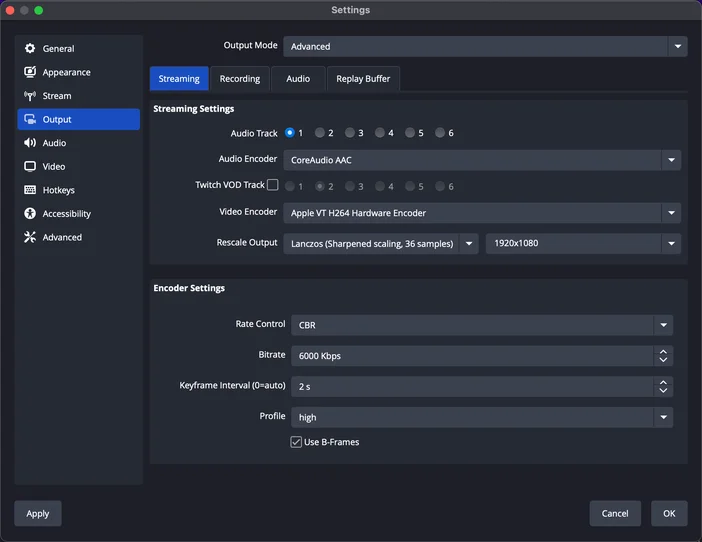
7. Next head into the Output tab in settings. Change Output Mode from Simple to Advanced.
8. Set your Encoder to Apple VT H.264 Hardware Encoder for best performance and set Rescale Output from Disabled to Lanczos and set the resolution to 1920x1080. This will let you stream at 1080p, but record at full 4K like mentioned earlier.
9. Set Rate Control to CBR and adjust your bitrate based on where you are streaming and what your internet speed can provide. Learn about how much internet bandwidth you need here, but as a Quick Summary: up to 6Mbps for Twitch and up to around 35Mbps for YouTube.
10. Set Keyframe Interval to 2s and Profile to High
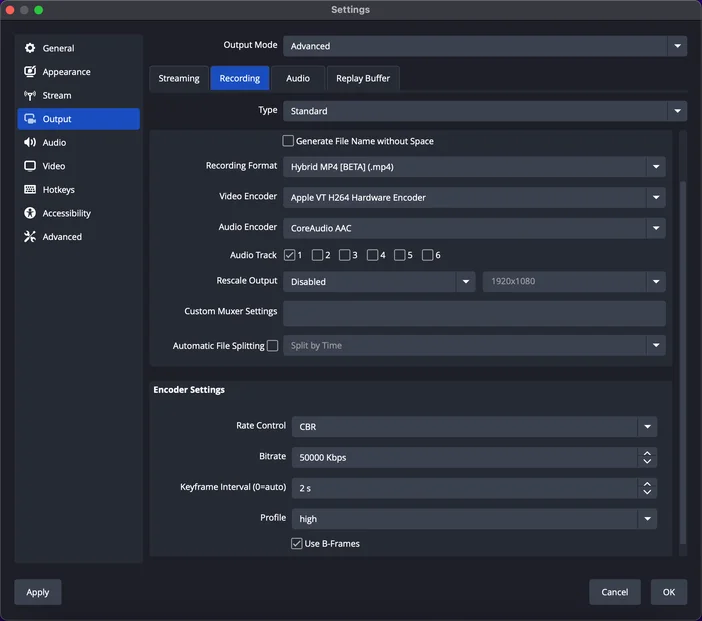
11. For controlling local recording Recording options, switch over to the Recording tab and select your recording destination. This is where the video file will be saved.
12. Set Recording Format to Hybrid MP4 or Fragmented MP4
13. Like with streaming, set the Encoder to Apple VT H.264 Hardware Encoder or Apple VT HEVC Hardware Encoder for the best performance.
14. Bitrate can be set much higher such as 50,000 as you're not limited to your internet speed, and then click on OK.
Your OBS Studio is now configured to record and stream your Switch 2.
Need some more help setting up? Check out our full written setup guide here, or contact Elgato Support