Make your Facecam 4K look its best with some simple steps. We’ll walk you through how to optimize Facecam 4K step by step. From lighting and exposure, to noise reduction, white balance, and effects inside Camera Hub.
Prefer to see everything in action? Watch our complete walkthrough on how to get the best image from Facecam 4K.
For our baseline, here is Facecam 4K with normal room lighting and all automatic, out-of-the-box options compared to the final result with all tuning.


Out-of-the-box settings with typical room lighting.
Improved lighting and all manual settings and AI background effects.
Cameras can only see if there is enough quality light, making lighting in your setup the biggest factor when it comes to camera quality. Most people may just rely on the lights built into the ceiling, a lamp, or maybe even the light coming from their monitor.
However, lights on a lamp or a fan on your ceiling aren't designed for video. And their position makes them cast harsh shadows on you. They may have an odd color tint or flicker. Your monitor, while giving off some light, isn't very bright and its light output and color change depending on what is being displayed. Change to dark mode and you're in the shadows. Open a new tab in a browser and you might be completely washed out.
Instead, think like a studio where you have a lot of consistent lighting that you can control. Add Key Lights to brighten your face. Add in some practical lighting for some color and background glow. And finally maybe some accent lighting like an RGB light shining on you from the side to edge light you, separating you from the background.


With all these added in, and the bad lighting turned off or reduced, Facecam 4K can shine with much better results.
With the original typical lighting image from above, Facecam 4K is given a tough task of keeping the subject at the right exposure level with the limited lighting. For that reason, it needs to run at over 4,000 ISO. That is much higher than we want. With the Key Lights, accent lighting, and practicals, Facecam 4K is down to around 750 ISO. Much better.
ISO is a measure or rating of a sensor's sensitivity. Higher ISO gives you a brighter image, but more noise. Just like how you have gain on a microphone. Higher gain will make you louder, but add noise in the signal. Same with camera sensors. To keep ISO lower, such as under 1,000, you simply need to have more light in your scene.
Facecam 4K's automatic exposure is smart enough for the vast majority of situations, but you may need to tweak it a bit depending on your environment.

Standard Dynamic Range

Wide Dynamic Range

High Dynamic Range
For total control, turn off auto exposure and go manual. Manual mode is ideal if your key lights are static but accent lights (like LED strips) keep changing, preventing them from messing with your exposure.
Manual Control still allows for controlling Dynamic Range as well as offering Shutter Speed and ISO control.
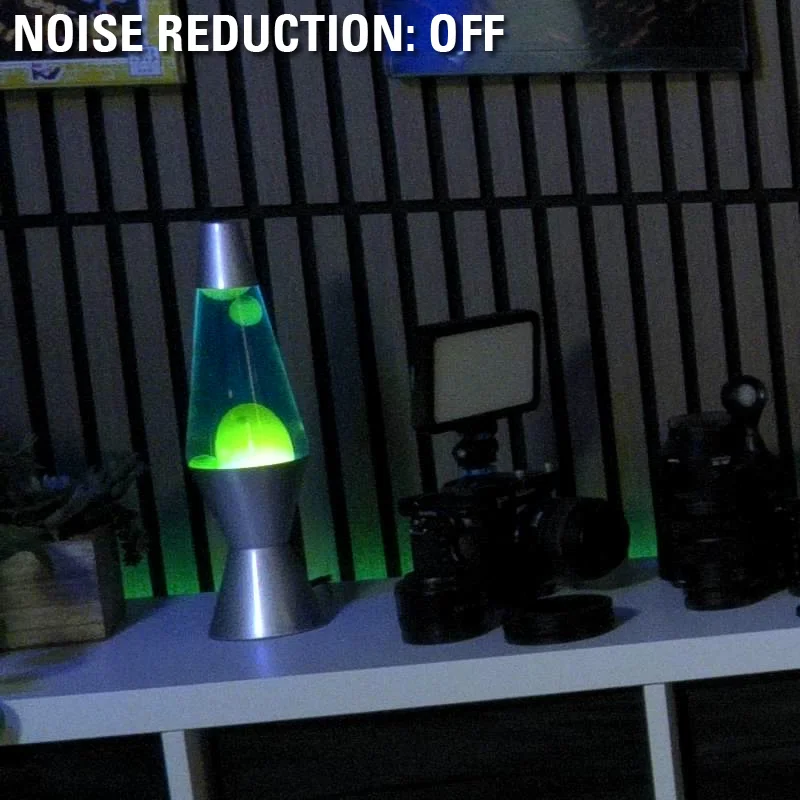
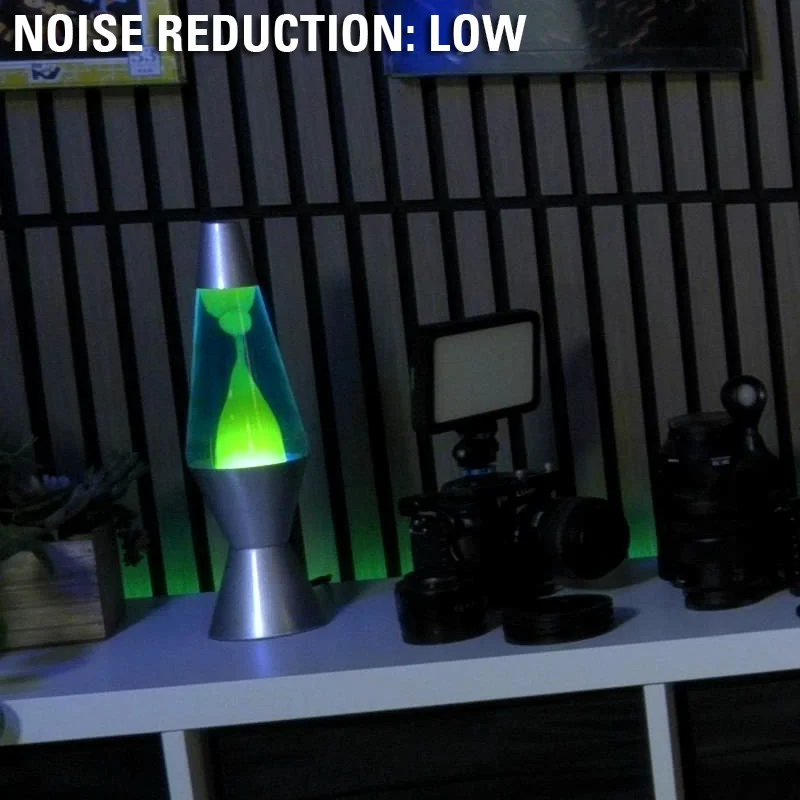
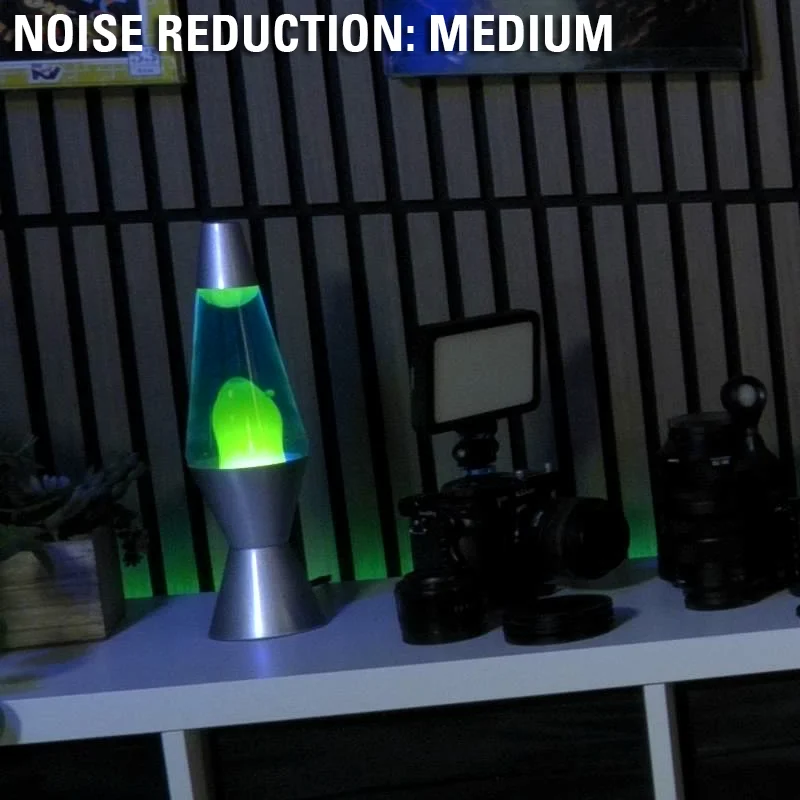
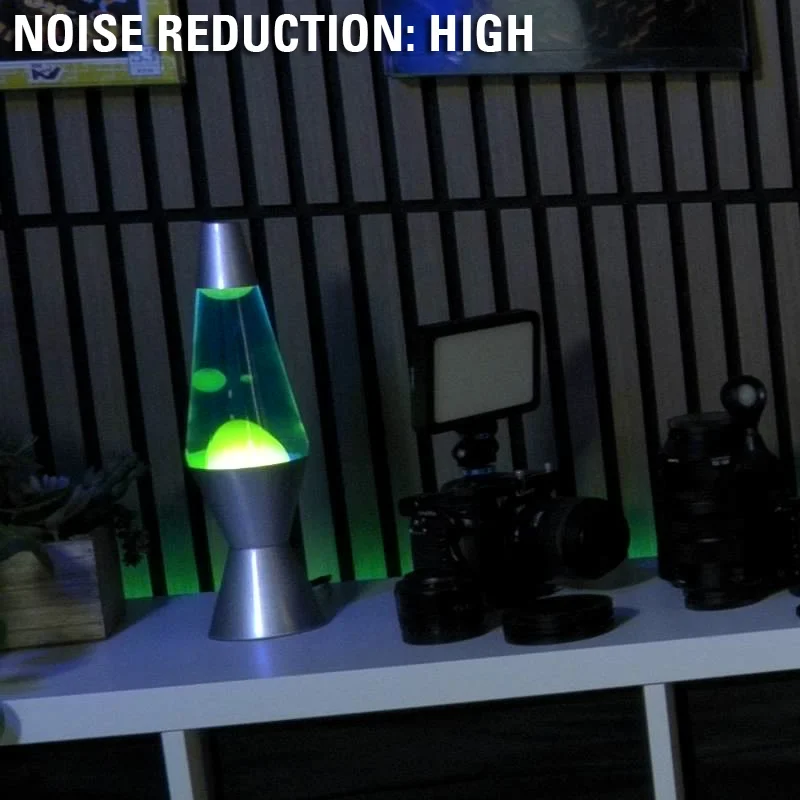
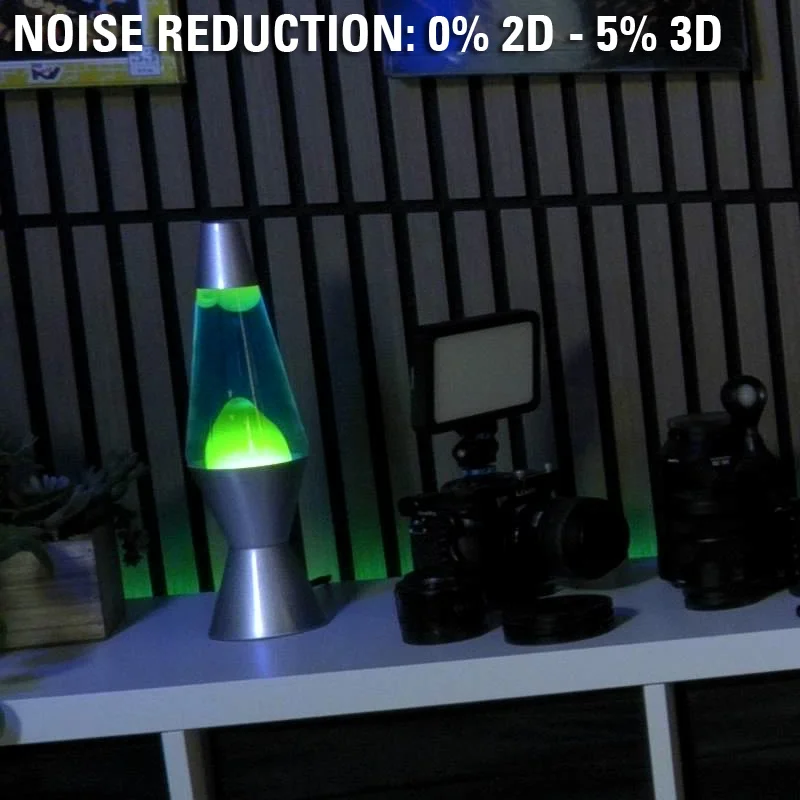
Facecam 4K's Image Signal Processor has advanced processing and noise reduction algorithms. Including both 2D and 3D noise reduction.
This option has a few presets.
Depending on the light level, ISO, noise, and texture of your scene you may not notice much difference beyond low.
Automatic white balance usually works well, but can sometimes misinterpret warm tones in your space.
If your room has warm wood, cozy lamps, or accent LEDs, you may prefer to lock in manual white balance.
Additionally, locking the white balance to a specific value will prevent Facecam 4K from interpreting animated RGB LED lighting as a white balance change that needs correcting.


Automatic White Balance
Custom White Balance - 5200K
There is more to quality with Facecam 4K than just the hardware settings. You can also enhance Facecam 4K's image using AI Backgrounds such as bokeh blur or layer on Look Up Table (LUT) presets.


You can find plenty more LUTs from Elgato and Community Makers over on Marketplace.
And with that, you’ve customized and enhanced the look of Facecam 4K from lighting, color, noise control, to AI video effects. Looking to learn more? For more camera tips, explore our Cameras section on Explorer.
PRODUCTS IN ARTICLE