HANDLEIDING | SNELSTARTGIDS
How to Set Up Stream Deck Network Dock
Elgato Network Dock for Stream Deck – Wired Ethernet Adapter, PoE or USB Powered, Easy On-Device Setup, Mounts to Desk, Wall, or SDXL Stand, For Studio, Broadcast, Events
Stream Deck Network Dock can enhance your production setup in just a few seconds and a few easy steps. This Explorer article will cover the initial setup of Stream Deck Network Dock with Stream Deck software, Bitfocus Companion, and Bitfocus Buttons.
Requirements
OPERATING SYSTEMS
- Windows 11 (64-bit) or later
- macOS 13 or newer
ETHERNET (RJ45)
- PoE IEEE 802.3af and non-powered networks
POWER SUPPLY
- USB-C, PD 3.0 or higher, 5 V, min. 0.9 A (4.5 W) for non-powered networks
STREAM DECK
- USB-C, USB 2.0, 5 V, max. 0.7 A (3.5 W)*
*Network Dock is not compatible with first generation Stream Deck devices (R/N: 20GAA9901) and Stream Deck Studio (R/N: 20GBO9901). Stream Deck Pedal (R/N: 20GBF9901) only works in DHCP networks.
Note: Stream Deck Network Dock works while the device and computer are connected to the same network. Before you begin, make sure that the device and computer are on the same server, network, or switch.
Connection Setup
1. Download and Install Stream Deck Software
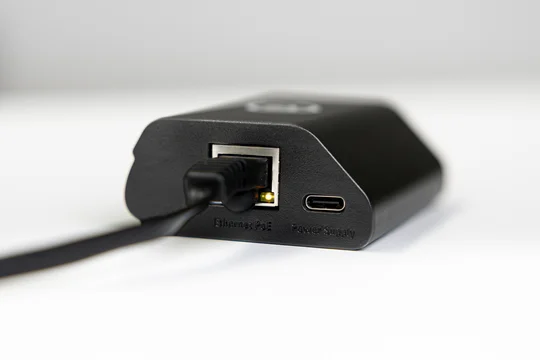
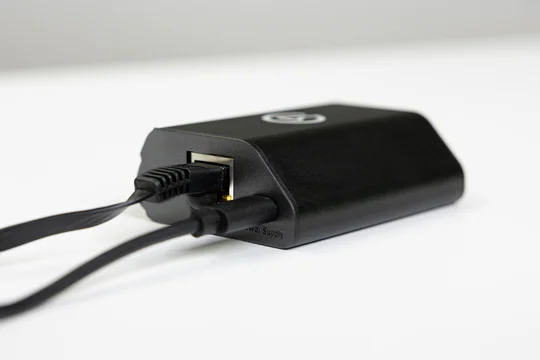
2. Connect an Ethernet cable from your desired network switch to Stream Deck Network Dock's Ethernet port, labeled Ethernet PoE.
Note: If your network switch is not Power Over Ethernet compatible, USB-C PD Power will need to be provided the USB-C port labeled Power Supply. 5V minimum, 0.9 A (4.5 W)
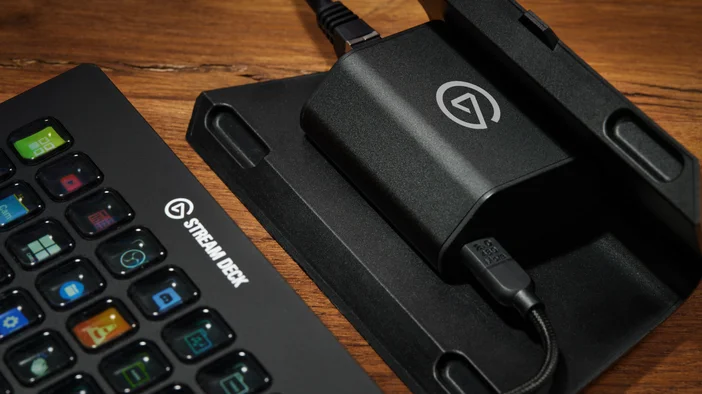
3. Using the the provided USB-C to USB-C cable, connect the cable to your Stream Deck device of choice. The other end of the USB-C cable is connected to the port labeled "Stream Deck"
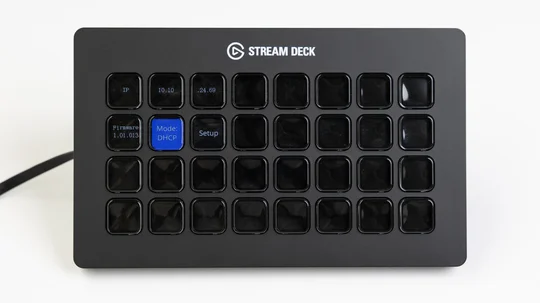
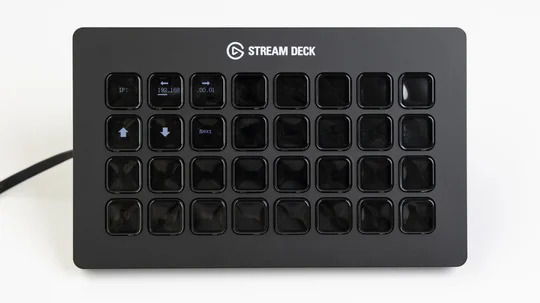
4. Once connected, Stream Deck should display some information in the top left corner of the device. Here, you can choose between DHCP, which automatically assigns your device an IP Address, or Static IP, where you can manually assign an IP address to your device. You can change the numbers in Static IP mode by tapping on keys that show the IP address, and adjust the numbers using the up and down arrow keys.
Stream Deck Software Setup
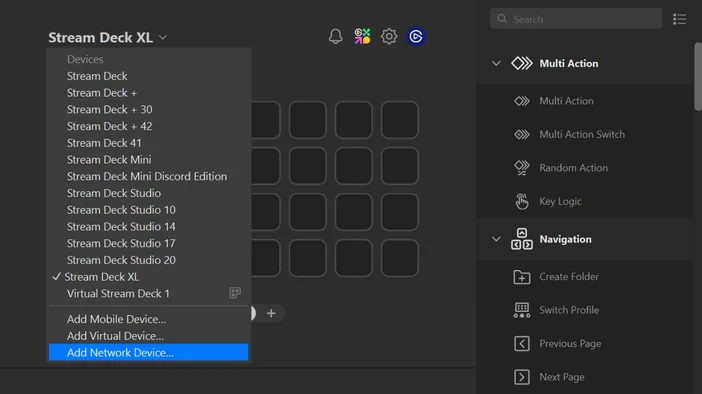
1. Once your device has been assigned an IP address and you are using Stream Deck Software, navigate to the top left corner of the software to locate the device drop-down menu.
2. Open the drop-down menu, and navigate all the way to the bottom and select "Add Network Device..."
3. Once "Add Network Device..." has been selected, a box will open, prompting you to enter the IP Address for the recently connected device. Enter the IP address that was either assigned automatically via DHCP, or the IP address you assigned it via the Static IP option.
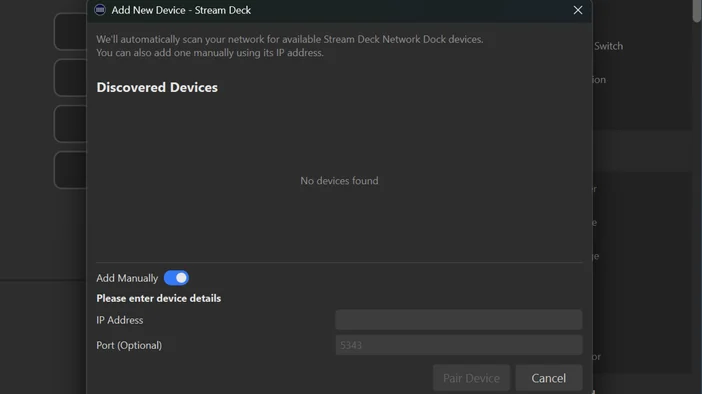
4. After the IP Address has been entered, select "Pair Device," and your device should be instantly recognized via the Stream Deck Software over the Network.
Bitfocus Companion Setup
Note: Stream Deck Software cannot run simultaneously with Companion. Please close Stream Deck software before setup.
1. Once connected, launch Bitfocus Companion and navigate to the "Surfaces" tab on the left side.

2. Navigate to the "Remote" section, and click on the red "Add Remote Surface" button.
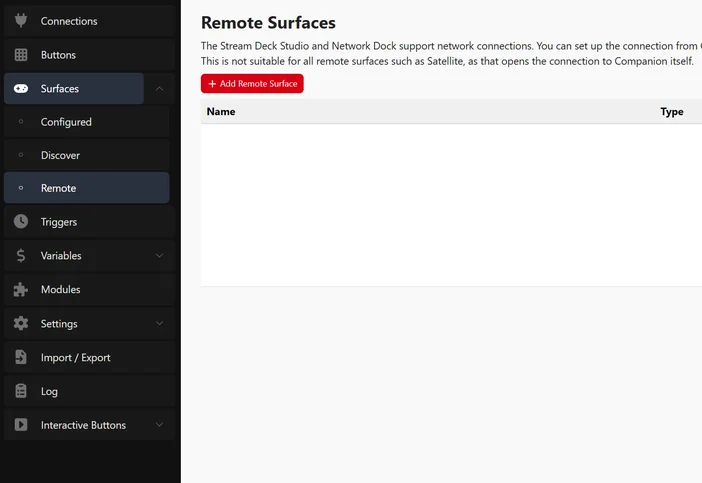
3. Enter a name for your device, such as "Network Dock" or "Stream Deck", and enter the IP Address that is displayed on the device in the "Address" field. Finally, click "Add".

4. Stream Deck Network Dock, and its connected Stream Deck, should now be visible in the configured list of surfaces.
Bitfocus Buttons Setup
IMPORTANT NOTE: Stream Deck Software cannot run simultaneously with Buttons. Please close Stream Deck software before setup.
1. Once connected, launch Bitfocus Buttons, and navigate to the "Connect" tab on the left side.
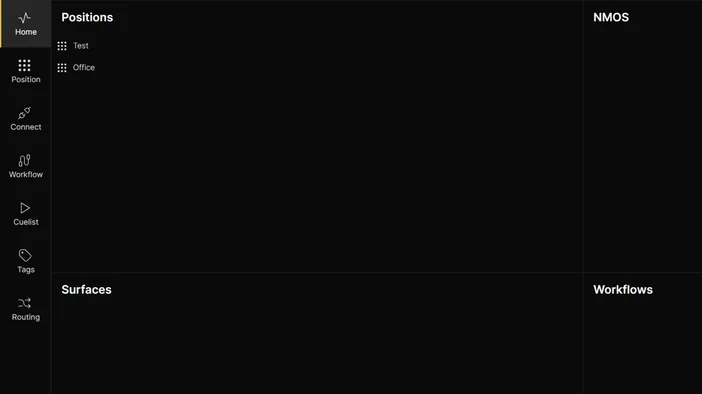
2. Within the "Connect" tab, search for "Surface" in the subsection to the right of the "Connect" tab.
3. In the "Surface" menu, navigate to the blue "+ Add" button, located in the top right of the "Surface" subsection.
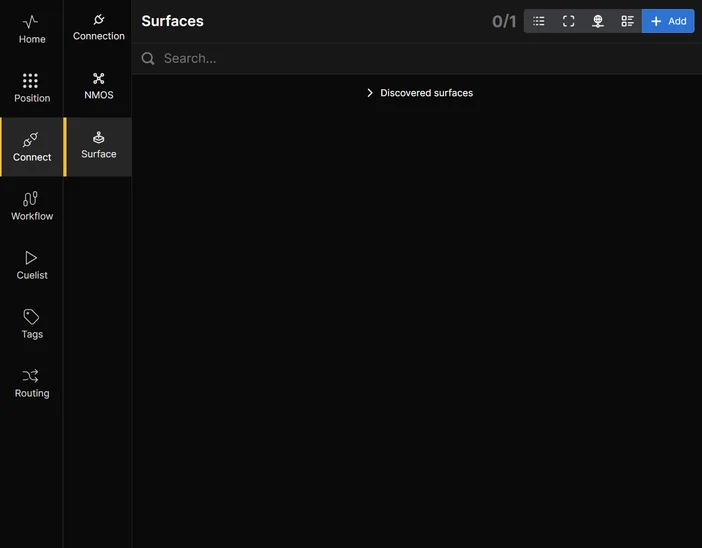
4. A list will appear, showcasing all the hardware surfaces that can be added within Buttons. At the bottom of this list, you will see "Stream Deck Network Dock". Select this option.

6. Enter a name for your device, such as "Network Dock" or "Stream Deck", and enter the IP address that is displayed on the device in the "IP/Hostname" field. Finally, click "Create Surface".
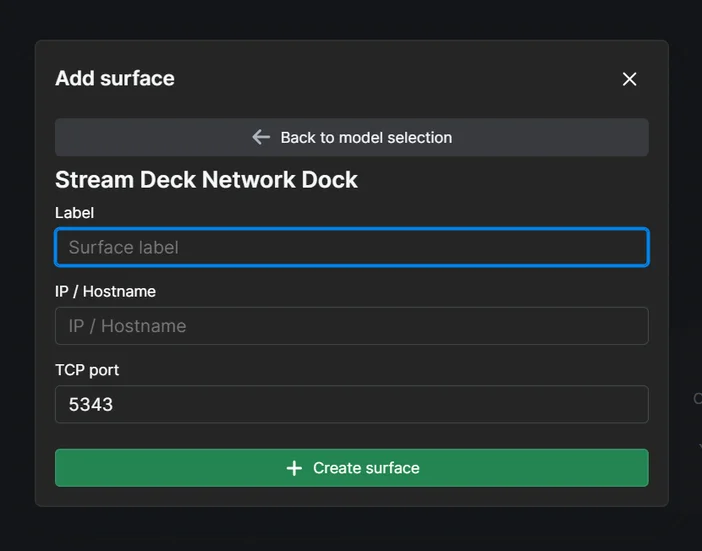
7. Stream Deck Network Dock, and its connected Stream Deck, should now be visible in the configured list of surfaces.
Conclusion
Setting up Stream Deck Network Dock is a quick and straightforward process that expands your production flexibility. By connecting through a local network, you can control and integrate Stream Deck from virtually anywhere within the same network, whether you’re using Stream Deck Software, Bitfocus Companion, or Bitfocus Buttons. Once paired, Network Dock provides a reliable and versatile bridge between your Stream Deck and workflow, delivering the same experience you would expect from a direct USB connection.